Getting Started with Super.Human.Installer
This guide will walk you through installing Super.Human.Installer (SHI) and setting up your first server.
System Requirements
Hardware Requirements
- CPU: 64-bit processor (x86_64/AMD64) - Note: ARM64 (like Apple Silicon M1/M2) is currently not supported for running VMs via SHI.
- RAM: Minimum 8GB (16GB+ recommended for multiple or resource-intensive VMs).
- Disk Space: At least 20GB of free space, plus space for VM disks and cached installers.
- Network: Internet connection for downloading components and provisioners.
Software Prerequisites
Ensure these are installed and functional before running SHI:
- VirtualBox: Version 6.1 or higher. Download from virtualbox.org.
- Vagrant: Version 2.2.10 or higher. Download from vagrantup.com.
- Git: Latest version recommended. Required for importing provisioners from GitHub. Download from git-scm.com.
- (Optional) Rsync: Required for the Rsync file synchronization method (default on macOS/Linux). Often pre-installed on macOS/Linux. Mac may require installing rsync from homebrew/macports due to a divergence in rsync on Mac. rsync 3.0+ required on MacOSx
Installation Instructions
Windows
- Download the latest Super.Human.Installer exe installer (view release).
- Run the installer executable and follow the on-screen instructions.
macOS
- Download the latest Super.Human.Installer pkg file (view release).
- Open the PKG file and proceed through the installation wizard.
- When launching for the first time, you may need to right-click (or Control-click) the application icon and select “Open” from the context menu to bypass Gatekeeper security warnings.
Linux
- Download the latest AppImage file (view release).
- Make the file executable:
chmod +x SuperHumanInstaller-x86_64.AppImage - Run the AppImage file:
./SuperHumanInstaller-x86_64.AppImage
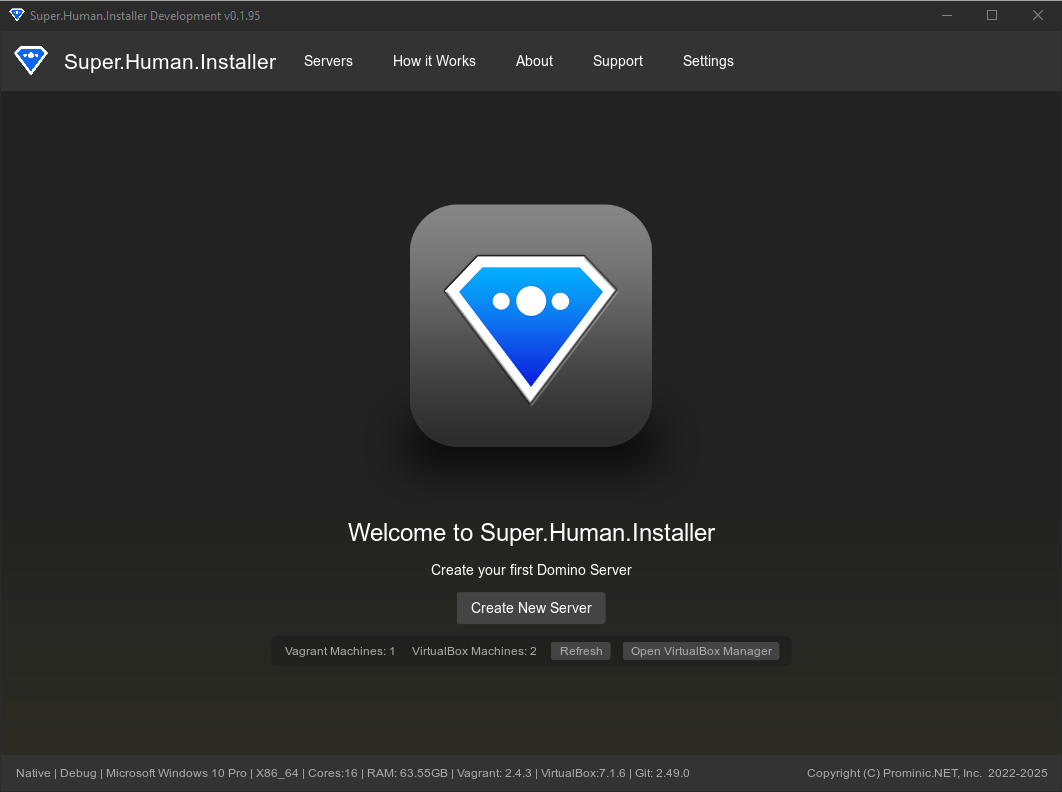
First Run
When you first launch Super.Human.Installer:
- The application checks for the required software prerequisites (VirtualBox, Vagrant, Git).
- If prerequisites are missing or incompatible versions are detected, warning boxes will appear on the main screen with links to download the necessary software.
- The application initializes its configuration files and directories within your user’s application storage location.
- The main Server Management interface is displayed.
Creating Your First Server
- Click the “Create New” button on the main Server page. This opens the Service Type selection screen.
- Choose a Service Type (which corresponds to a provisioner):
- HCL Domino Standalone Provisioner: For a new standalone Domino server.
- HCL Domino Additional Provisioner: For adding a Domino server to an existing environment.
- Custom Provisioner Name: If you have imported custom provisioners, they will appear here.
- The appropriate configuration page will open. Fill in the basic settings:
- Hostname: A unique name for the server (e.g.,
myserver). - Domain: Your organization’s domain (e.g.,
example.com). The FQDN will be computed (e.g.,myserver.example.com). - Organization: Your organization (e.g.,
STARTcloud). This is used for Domino related provisioners. - Notes Safe ID / Server ID: Locate the necessary ID file for Domino provisioning.
- (Additional Server Specific): Provide details of the existing server.
- (Custom Provisioner Specific): Fill in fields defined by the custom provisioner’s metadata.
- Hostname: A unique name for the server (e.g.,
- Click “Configure Roles” to select the software components (roles) to install (e.g., Domino, Traveler, Verse). Ensure required installer files are available (see File Cache & Hashes).
- Optionally, click “Advanced Configuration” to adjust settings like networking (IP address, DNS, bridge adapter), resources (CPU, RAM), and environment variables.
- Click “Save” on the configuration page. The server configuration is saved, and the server will appear in the main list with the status “Ready” or “Stopped”.
- Select the newly configured server in the list and click the “Start” button to create and boot the virtual machine. Provisioning (software installation) will occur automatically if configured, or you can trigger it manually later using the “Provision” button.
Next Steps
Once you’ve created your first server, explore the following sections to learn more:
- Creating & Configuring Servers - Detailed configuration options.
- Server Management - How to manage your virtual machines.
- Provisioner System - Understanding provisioners and roles.
Relevant Files
Key files related to the application startup and initial setup:
- Source/SuperHumanInstaller.hx - Main application initialization.
- Source/superhuman/components/LoadingPage.hx - Initial loading/check page (briefly shown).
- Source/superhuman/components/serviceType/ServiceTypePage.hx - Service type selection interface.
- Source/superhuman/components/ServerPage.hx - Main server management page.
- Source/superhuman/components/ConfigPage.hx - Standard server configuration UI.
- Source/superhuman/components/additionals/AdditionalServerPage.hx - Additional server configuration UI.
- Source/superhuman/components/DynamicConfigPage.hx - Custom provisioner configuration UI.